Mountain biking lets you ride dirt roads, forest trails, gravel climbs and descents, single tracks, and pure mountain trails. MTBs take us everywhere, see all sorts of things, and dirt is one of our bike's worst enemies: keeping it clean is crucial for its proper functioning.
Constant cleaning
There's no doubt that regular cleaning is more important for a mountain bike than for a road bike, where you rarely ride on dirty roads. But with a mountain bike, it's a whole different story. When have you ever returned from a mountain bike ride completely clean? Probably never. Storing your bike in the garage without cleaning it, leaving it with dirt, mud, and soil stuck to the frame and wheels, is a risk that can compromise the functioning of the components and therefore the mountain bike itself. So, if you truly love this sport and your bike, it's absolutely advisable to take the time to keep your mountain bike clean after every ride.
Let's find out together what the fundamental steps are.
What not to do
It often happens that during MTB maintenance and cleaning procedures, we perform operations that should actually be avoided, which risk deteriorating or ruining the mechanical components of the bike. So, let's look at what not to do when cleaning your mountain bike .
- Use a high-pressure jet of water, as it could damage the seals and push dirt even deeper.
- Use non-specific products such as diesel or petrol because they are too aggressive and could damage the rubber parts and the frame.
- Washing your mountain bike too often. It's not necessary to thoroughly clean it after every ride: if there's no mud or dirt, simply remove the dust and lubricate the chain.
- Incorrectly positioning your MTB during cleaning (upside down or lying down).
Surface washing
Before thoroughly cleaning all the components of your mountain bike , it's a good idea to give the surface a thorough wash to remove the bulk of the dirt from the frame and wheels. Place your bike on a workshop stand or a simple bike rack on the ground.
To remove mud and dirt, it's a good idea to use a water hose, using low pressure. Spray the entire bike until the worst of the dirt has been removed.
After removing the first layer of dirt, equip yourself with a soft-bristled brush (like those found at a car wash) and a specific bike cleaning product (ask your mechanic for advice). Spray the product over the entire bike, paying particular attention to hidden areas like the seat and lower frame, and let it soak in for a couple of minutes. Gently brush the frame to remove any small buildup. Rinse the bike thoroughly.
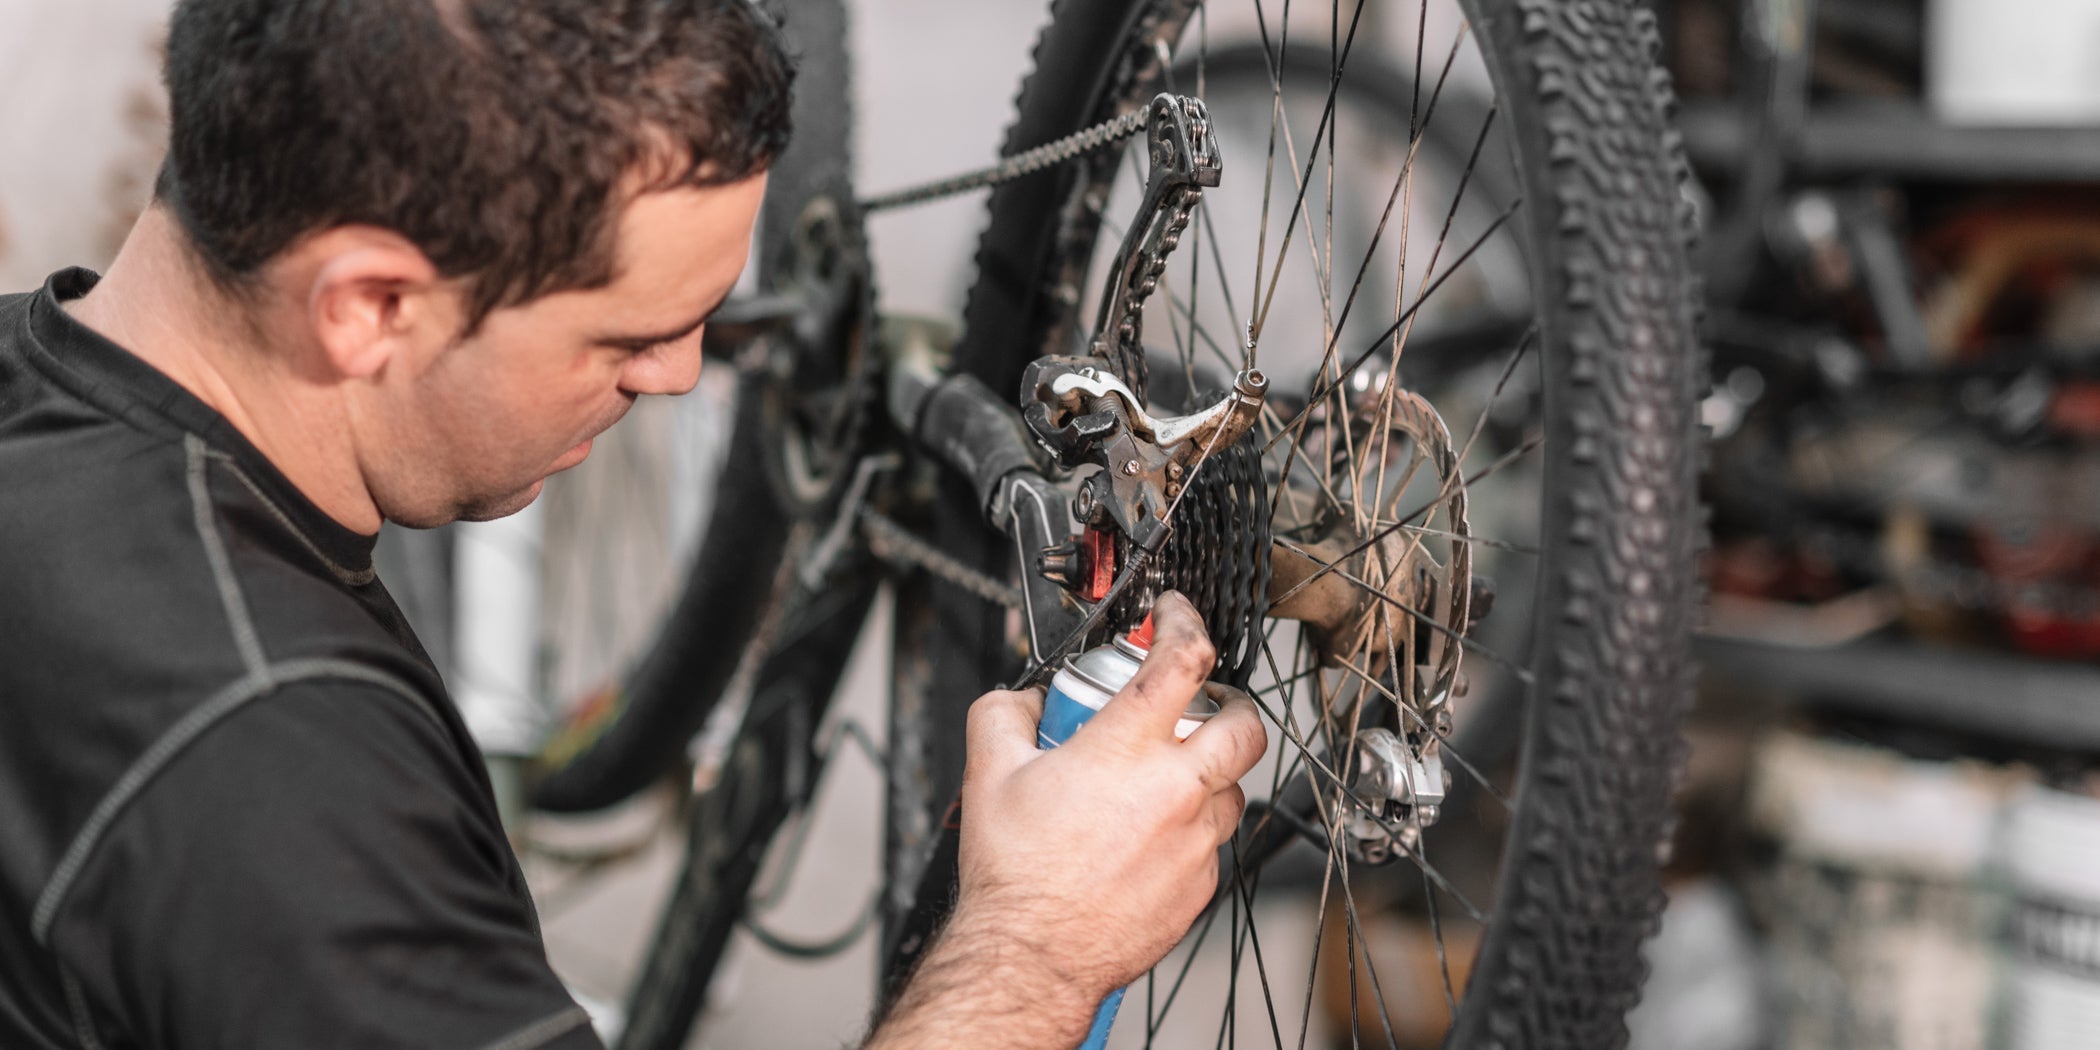
Now you can proceed with degreasing the chain, chainrings, and sprockets using a specific degreaser. If you have disc brakes, we recommend avoiding spray, as it could get on the pads and affect the brakes' performance.
The most effective way to distribute the product between the chain links and on the cassette is to use a brush with medium-hard bristles. If you don't have a specific cleaning brush, a simple toothbrush will do just fine.
To thoroughly clean the drivetrain, in this case the chain, take a sponge, create a small notch, and insert it into the chain. Engage the drivetrain with your free hand and slide the chain through the sponge.
Once degreasing is complete, rinse again to remove the detergent and any remaining dirt. At this point, it's a good idea to use a dry cloth to dry the bike: a microfiber cloth is recommended. To remove mud from the tires, you can use a brush, running its teeth between the lugs.
Lubrication
Once the MTB is clean and dry , you can proceed with lubrication.
Use a specific product, a professional bike lubricant. This is very important to ensure proper chain, derailleur, and gear shifting.
Lubricate the derailleur and rear derailleur movements. While rotating the chain, with the rear wheel raised, lubricate it and then remove any excess lubricant with a cloth. Then, move the derailleur and rear derailleur through all positions to distribute the lubricant evenly. This will prevent you from getting dirty on your first pedal stroke.
It is recommended to cover the entire rear brake assembly with a dry cloth.
Cleaning the disc brakes
Maintaining and cleaning MTB disc brakes is always a very delicate operation.
First of all, it is good to list what you absolutely must not do :
- You should not use a universal degreaser which can damage the pads and seals of your braking system.
- Compressed air must not be used: air at 7 bar pressure can overcome the seals of the calipers and pumps and enter the system, forming air bubbles that will force you to bleed the system.
That said, let's now look at the steps to best clean your MTB disc brakes .
Remove the wheel from the frame and extract the pads from their seat.
Place the pads on a flat surface and spray them with the appropriate cleaner. Use a paper towel to remove any dirt and rust. If the pads are very dirty, you can lightly sand them with 1000-grit sandpaper.
Remove dust from the caliper using the specific product; you can also use absorbent paper. Finally, the discs should also be cleaned properly, spraying or rubbing the product gently with a cloth. Rinse thoroughly with water. Before embarking on any ride, remember to break in the brakes after each cleaning.
Conclusion
Keeping your MTB clean is especially important because it will allow you to check the wear and tear and integrity of the various parts of the frame and components.
It is not necessary to thoroughly wash every single component after every ride, but the vehicle should still be kept clean and lubricated.
So, there are essentially two rules to follow: if your mountain bike isn't dirty at the end of your ride, simply remove the dust and lubricate the chain in a few minutes. If, however, the bike has a lot of dirt residue, then proceed with a thorough wash. And as always, consult your mechanic if you're unsure about certain procedures: the work of expert hands will ensure your MTB is perfect.


